Natural Remedies Mom

by Jill's Home Remedies

  • Home
  • About
  • DIY
  • Shop
  • Natural Health
    • Herbs
    • Health Hazards
    • Healthy Living
  • Recipes
    • Bath & Body
    • Cleaning
    • Food
  • Recommendations
    • Herbal Education
    • Homeschooling
  • Contact

Let’s Connect

  • Email
  • Facebook
  • Google+
  • Instagram
  • Pinterest
  • Twitter
  • YouTube

August 23, 2013 By Jill 6 Comments

How To Can Green Beans

Tweet
Share
Share
Pin
0 Shares

Click here to watch a video of how I use my pressure canner!

My girls and I picked green beans at our neighbor’s house.  This was such an enjoyable way to pick them.  I love how he grows his green beans! ๐Ÿ™‚
Canning green beans is such a fun, easy thing to do!
We use 2 bowls: one to throw the tips of the green beans and strings {if there are any} in, and one to throw the snapped beans in.  We breaks the green beans into sections that are the size we like them to be when we eat them.

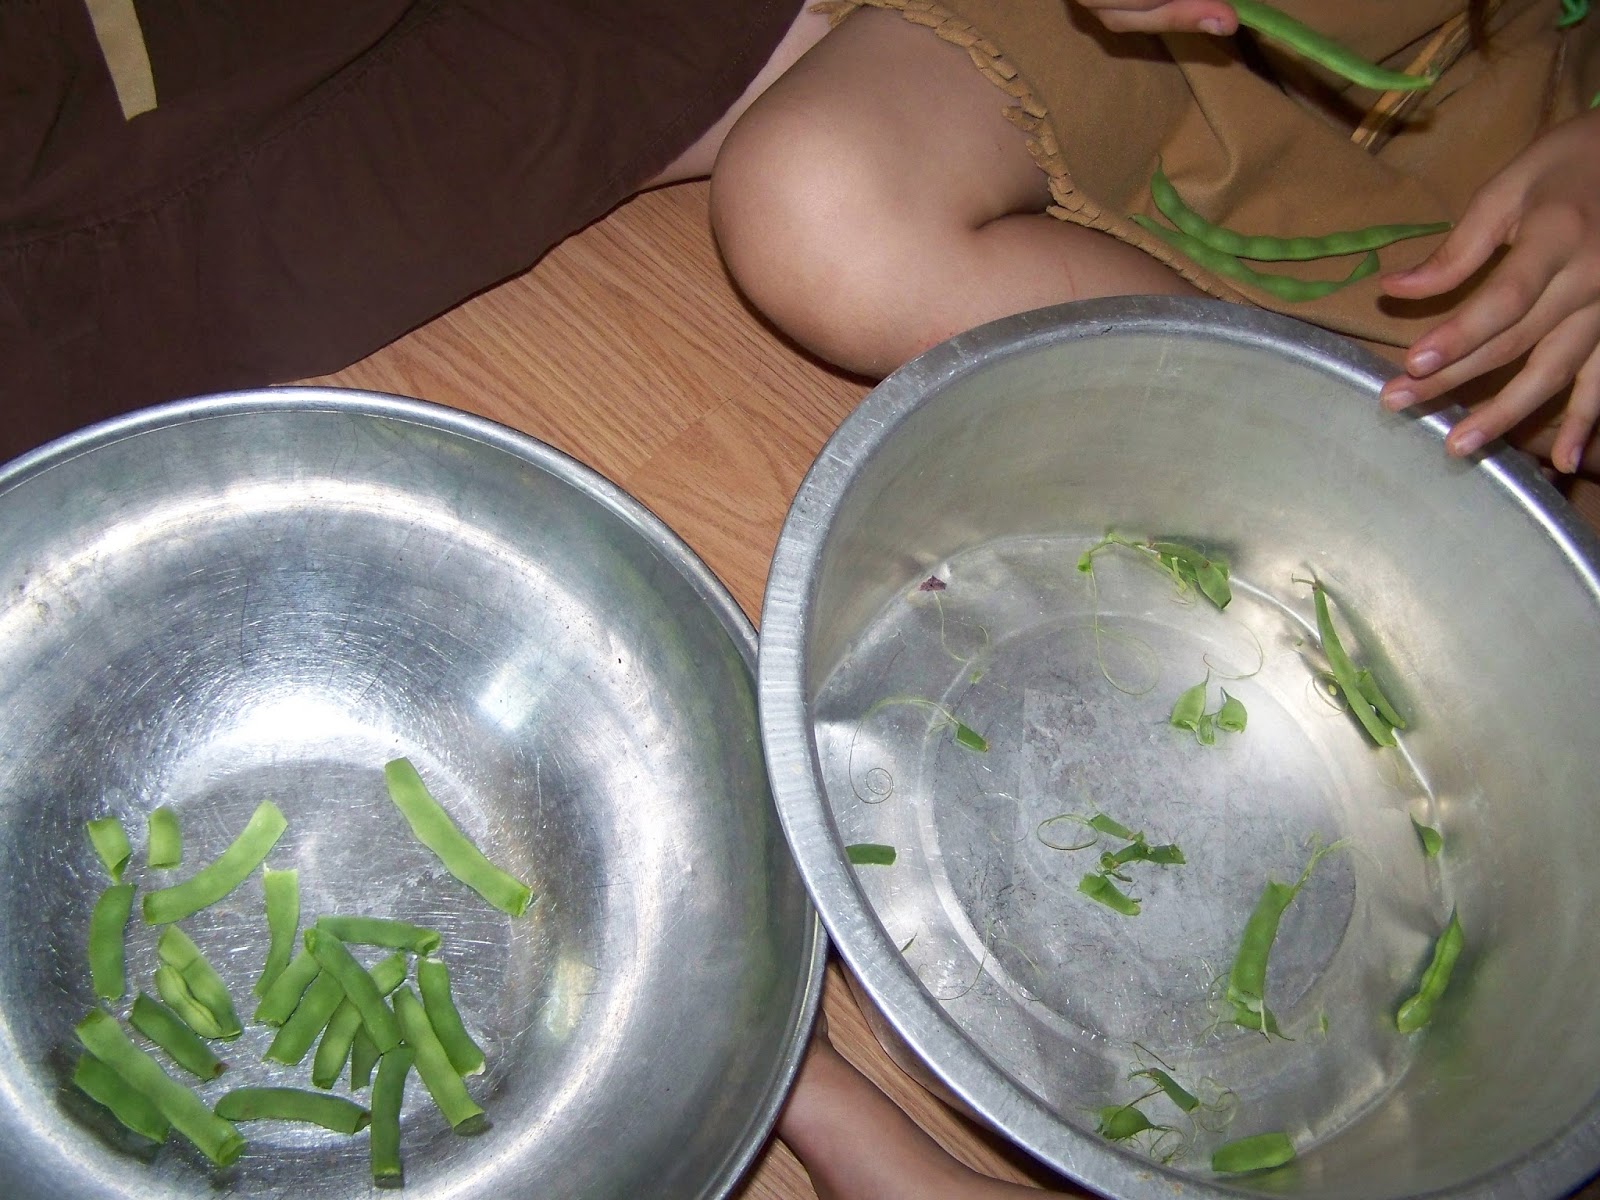
I always wash the green beans 3 times to make sure all the dirt is gone, and there are no bugs hanging around.  I swish them in one side of the sink, then transfer them to the other side to wash, and then back to the other side.  

I have always used the raw pack method:

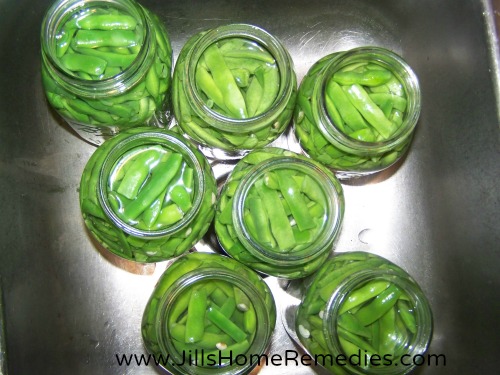
Sterilize the jars in the dishwasher, or {if you don’t have a dishwasher like me :)}, by pouring boiling water over the jars.  Pack the green beans into the jar, tapping the bottom of the jar to make sure they are settled in there well.  Cover the beans with boiling water up to an inch from the top of the jar.  Make sure the green beans are covered well.  Add 1 tsp. of canning salt to each jar.

Wipe the rims of the jars with a cloth to make sure there is no salt or other debris.  The tiniest particle can keep the jar from sealing.

Boil the flat lids in water for just a few minutes, then place the lids and rings on the jars.  Put 2 inches of water in the canner.  Put the jars in the canner and process the green beans for 25 minutes at 10 pounds of pressure.  Be sure the pressure gauge reads “0” before opening the lid.  Place the jars on the counter for 24 hours to cool.
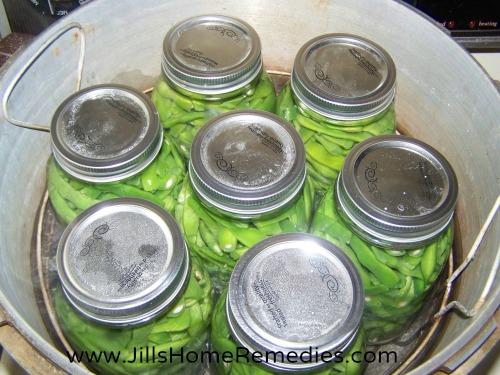
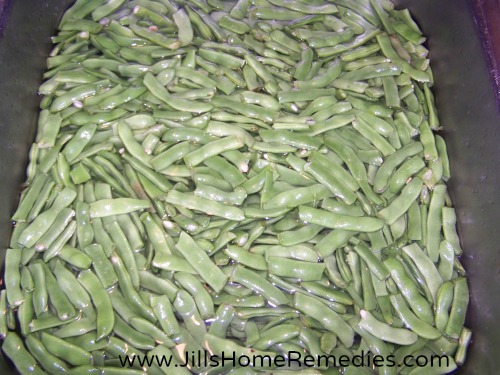
In a nutshell…

Canning Grean Beans: Raw Pack Method

Break and snap beans.  Wash and pack into hot, clean jar, packing tightly.  Cover with boiling water, leaving a 1 inch head space.  Add 1/2 tsp. salt per pint or 1 tsp. salt per quart jar.  Cover with lids and rings. Place 2 inches of water into canner.  Place jars in canner and process for 25 minutes at 10 lbs. of pressure.  Wait until gauge reads zero before removing lid.  Let jars cool on the counter for 24 hours.  


You now have cooked green beans, ready to open and eat! ๐Ÿ™‚

Do you can green beans?  Anyone have a favorite recipe to share? ๐Ÿ™‚

post signature

Tweet
Share
Share
Pin
0 Shares

Filed Under: Uncategorized

Previous Post: « Announcing Giveaway Winners and Natural Living Link-up #83
Next Post: Fruits and Vegetables: An Alternative Medicine »

Reader Interactions

Comments

  1. Charlotte Moore says

    August 24, 2013 at 5:21 pm

    My mother in law always blanched her beans and packed into hot jars. Cooked at 10 pounds of pressure for 25 minutes also. That is the way I do when I can.

    Reply
    • Jills Home Remedies says

      August 26, 2013 at 1:48 am

      Thanks for sharing Charlotte! ๐Ÿ™‚

      Reply
  2. Sofia Sana says

    August 27, 2013 at 11:05 am

    Thanks for sharing this. u have illustrated such a way that even an illiterate can understand this . nice post. Thank u.
    …http://www.ad2post.com

    Reply
    • Jills Home Remedies says

      August 29, 2013 at 4:15 pm

      Thank you Sofia!

      Reply
  3. Janine Thompson says

    September 4, 2013 at 12:42 pm

    Looks easy enough. I didn’t grow beans this year. Maybe I will try this next summer. Thanks for the tutorial. I will pin it.
    Janine@mylampisfull

    Reply
    • Jills Home Remedies says

      September 6, 2013 at 10:52 pm

      Thanks Janine!

      Reply

Leave a Reply Cancel reply

Your email address will not be published. Required fields are marked *

CommentLuv badgeShow more posts

Primary Sidebar

let’s connect

  • Email
  • Facebook
  • Instagram
  • Pinterest
  • Twitter
  • YouTube

Hi, there! I'm Jill, a Christian herbalist, homeschool mom of four, and live on a homestead in the Midwest. Welcome to my herbal home on the web! Here you'll find ways to treat your family at home with natural remedies, as well as how to make herbal medicine in your very own kitchen. Get To Know Me Here!

Looking for Something?

stay updated

Want to Learn More About Using Herbs?

Sign up below to receive a download of 10 Essential Herbs For Your Home for free!

I agree to receive updates.

I will never sell your email address. No spam. Cross my heart!

Powered by Optin Forms

Categories

Join me on Instagram

naturalremediesmom

Jill York
We are growing several types of mushrooms in the w We are growing several types of mushrooms in the woods! Turkey Tail, Reishi, Maitake, White Morel, Black Morel, and Yellow Morel. We raked a 6'x6' square for each package of spores and spread the spores on the ground. We then covered them with leaves and hope to have lots of mushrooms next summer! It's a good idea to plant them right before a rain so the rain can help spread and germinate the spores.
Mustard is one effective herb to use in breaking u Mustard is one effective herb to use in breaking up chest congestion. Yes, you can use the ground mustard found in your spice cabinet! Mustard has rubefacient properties, which means it increases blood circulation, perspiration, and heat to the area of skin where it is administered.
Probiotic shakes are so healthy for you! They buil Probiotic shakes are so healthy for you! They build a little army of healthy bacteria that improves your overall health now, and in the long run!
When the liver is not working properly, it can cau When the liver is not working properly, it can cause poor digestion, headaches, acne, depression, mood swings, skin problems, foggy thinking, IBS, weight gain, reflux, constipation, poor digestion, and more! Milk thistle is one herb that is great in healing the liver!
Catnip is very gentle and highly prized herb in tr Catnip is very gentle and highly prized herb in treating childrenโ€™s ailments. It is excellent for colds, flus, and fevers!
Homemade cough syrup, elderberry syrup, and echina Homemade cough syrup, elderberry syrup, and echinacea glycerite are just 3 of my must-have DIY remedies for the Fall!
Echinacea tops and roots are just two of the ingre Echinacea tops and roots are just two of the ingredients in the amazing tea mix I use to stop a cold in its tracks! They are both an infection fighter, a natural antibiotic, and an immune booster.
#Thishashappenedtome #LOL #Haha #Thishashappenedtome #LOL #Haha
Beautiful, beautiful, lights! #fromtheairplane! Beautiful, beautiful, lights! #fromtheairplane!
Load More... Follow on Instagram
  • Home
  • About
  • DIY
  • Shop
  • Natural Health
  • Recipes
  • Recommendations
  • Contact

Footer

DISCLAIMER: I am not a medical professional. All information on this website is for educational purposes only. The information has not been evaluated by the FDA and is not intended to diagnose, treat, cure, or prevent disease. DISCLOSURE: A post may contain affiliate links. In order for me to support this website, my research, and blogging activities, I occasionally may receive monetary compensation for my endorsement and/or links to products or services. However, I only recommend products or services I trust at no extra cost to you.

Copyright © 2025 ยท Natural Remedies Mom ยท Site Hosted by Calvary Host