If you hang out at my house for very long, you’ll inevitably hear one of my children asking me to “make a shake, please”. We cannot stand to go a day without our “shake”. I love that they ask for this every day because the base that I use for these shakes is milk kefir!
Kefir is one of the healthiest things you can add to your diet. It’s a probiotic drink and so incredibly good for you. If you do it right, you can feed your family this homemade probiotic drink for a lot less than purchasing probiotics in pill form! (I do keep this probiotic on hand in case one of my girls has a tummy ache and can use some extra probiotics.)
I’m going to show you not only how to make milk kefir in 5 easy steps, but I’m going to share how you can make yours taste so yummy that your kids will be asking you for some too!
What is kefir?
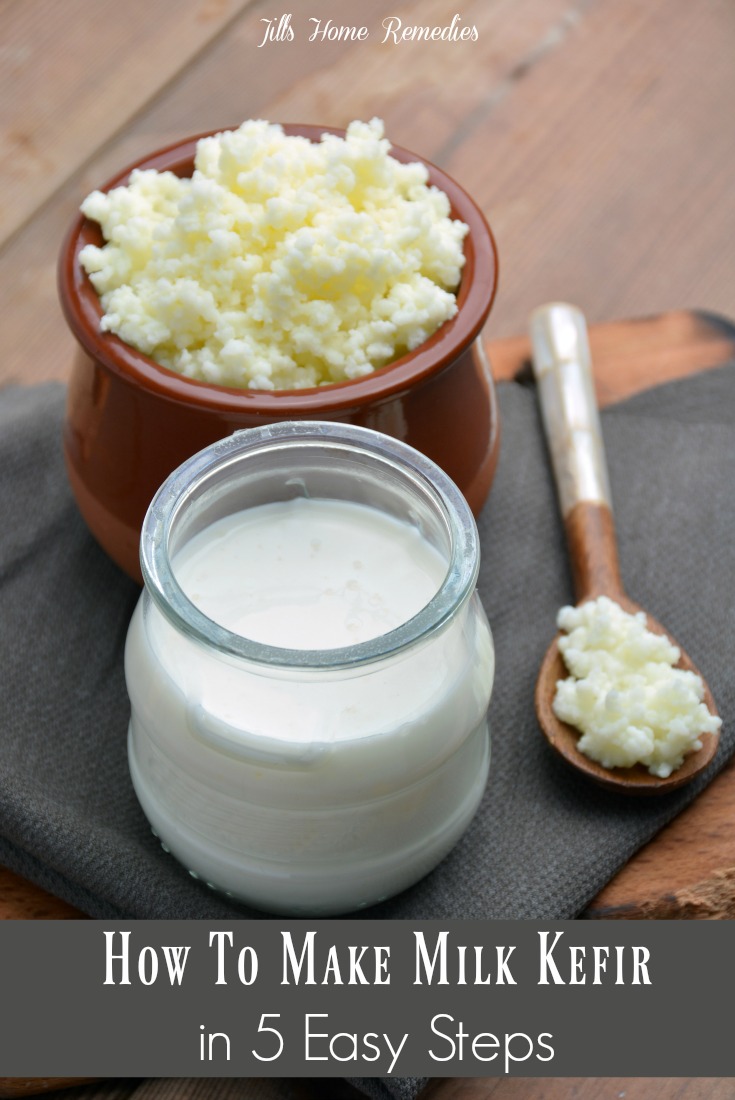
Milk kefir, (there is such a thing as water kefir but we are going to go over milk kefir today) originating from Russia, is a fermented milk drink made with kefir grains. These grains are a bacterial fermentation starter that when added to milk, make a thick, creamy yogurt-type drink.
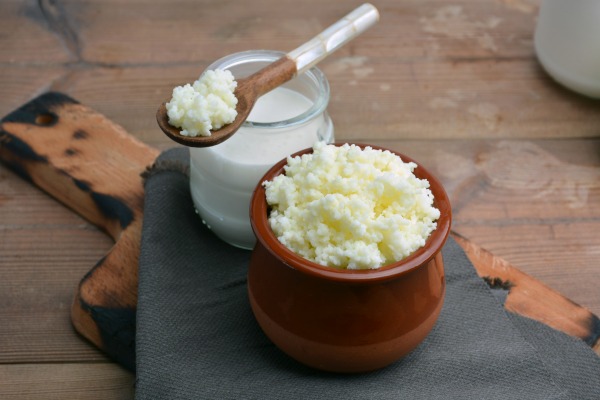
 Kefir grains look like cottage cheese or cauliflower to me. They feed on the sugar in the milk, which causes them to multiply themselves at a rate of a 10-15% increase each time they are fed. [2] If you keep your kefir grains well fed with milk, you can have a forever endless supply of inexpensive, homemade probiotics for your family’s good health.
Kefir boasts of high levels of probiotics, calcium, magnesium, vitamins k & b12, biotin, folate, and enzymes. [1] And according to the University of Florida microbiology class, homemade kefir contains a beneficial bacteria colony of 150 billion per tablespoon! [3]
What About Store-Bought Kefir?
While kefir bought at the store does have a lot of good stuff in it, it does not have as much as homemade. Many brands are advertised as having 10 strains, while homemade kefir has as many as 40-60 strains. [2]
And let’s just mention the savings! The savings of making your own kefir is well worth it. Purchasing kefir is around $.12 an ounce, while making it only costs you the price of milk (once you’ve purchased your grains) and averages to being only $.02 an ounce. [2] (This price was based on milk being $2.75 a gallon, so if you purchase milk that is less expensive, you save even more!)
How To Make Milk Kefir in 5 Easy Steps
Note: When you purchase kefir grains, they will be in a bag of milk. Strain the grains using a plastic strainer and pour a little bit of fresh milk on them to rinse them. This is only necessary when you use them the first time. This helps to activate them and get them going since they’ve been tossed about in the mail and are now in a different environment. Do not rinse with water.
Ingredients
Kefir grains (buy here)
Milk (raw or whole milk)
Jar
Breathable material like paper towels, dish towel
Rubberband
Directions
- Place kefir grains in a jar.
- Pour in milk on top of the grains. Use 1 cup of milk per 1 tablespoon of grains.
- Place a breathable cloth on top and secure with a rubber band. I like to use a paper towel folded in half, but a dish towel or something similar would work as well.
- Place the jar in a cool, dark place like a cabinet. Let the kefir ferment for 24-48 hours. You will know that it’s ready when you tilt the jar slightly and the kefir is thicker and more gel-like instead of just watery milk.
- Strain the kefir in a plastic strainer. (Never use a metal strainer or spoons. The kefir liquid itself can touch metal but the grains cannot as this can “kill” them.)
A Few Notes and Tips
- Be patient with your grains as they adjust to a new environment. Every household has different temperatures and moisture content so your new grains have to get used to your house. After you make your first batch, the liquid may still be watery and not very thick at all. That’s OK! It doesn’t mean the grains are bad – it only means they need more time to adjust to your environment. Simply strain the kefir grains, place them in a jar, and pour more fresh milk in. The second time around you can add only 1/2 cup and see if it does better starting with that amount. Sometimes it can take 2 or 3 times to get them started well. Once they have a good start and are adjusted to your home’s environment, they will make lots of amazing kefir for years to come!
- Some people pour up their kefir after 24 hours, but I tend to wait every 48 hours because I have so many grains now that I make 1/2 a gallon at a time and we currently don’t need more than 1/2 a gallon of kefir every 2 days. It also saves on milk money if I wait 2 days.
- In the summer and warmer weather, they will ferment faster and the kefir may be ready every day to be strained. The refrigerator slows down fermentation, so I place the jar in the refrigerator if I’m too busy to strain them at the time the kefir is ready or if I want them to ferment more slowly for a few days. (I always ferment in the cabinet first for at least 24 hours before placing them in the fridge.)
- Don’t throw your grains out if you forget to strain them within 48 hours. Everything is still good, your kefir will just be stronger and more sour, but still usable! If you leave your grains in the basement for a year and forget about them, then yes- throw them out and start over with more grains. (I’ve actually done that in the early days! haha)
- If you don’t have someone local to you to get kefir grains from, you can buy them online! You do have to be sure you get them from a good source. I had an experience once when I ordered kefir grains and when I opened the package, they smelled like a dead mouse. Needless to say, I threw those away and ordered from Yemoos Nourishing Cultures. I’ve had great success with these grains and their customer service is extremely helpful!
- Be sure to use raw or whole milk for your kefir grains. Ultra-pasteurized, low-fat, coconut, rice, soy, etc. milk will not work.
- So what can you do with all these extra kefir grains? As I said, the grains will multiply as you use and feed them. So if you want to make a quart jar at a time, you’ll only need 4 tablespoons of grains for each batch. When your grains become more than that, you can eat them yourself (which I’ve never done personally), blend them with your smoothie (which I have done and that greatly increases the amazing nutritional value!), mix them in your animal’s food, or share with a friend!
How To Make Kefir Taste Yummy
Kefir is similar to yogurt, so flavor it and use it as you would yogurt. Plain kefir is sour, but you can add sugar, honey, berries, etc. to make it taste good. As I mentioned, my favorite way to use it is by making what we call “shakes” (or smoothies).
For every cup of kefir, we add 1 1/2-2 frozen bananas, about 1/4 cup peanut butter, 2 tablespoons of flax or chia seeds, and any herbs that I wish to add to our diet at the time. (Right now I’m adding 1 teaspoon of turmeric.) This is our favorite way, but the options are endless! Experiment and have delicious fun!
Do you make your own kefir? What’s your favorite way to drink it?
Resources
- 7 Kefir Benefits and Nutrition Facts. (2017, March 28). Retrieved March 31, 2017, from https://draxe.com/kefir-benefits/
- Cultures, Y. N. (n.d.). Commercial Milk Kefir vs Home. Retrieved March 31, 2017, from https://www.yemoos.com/pages/commercial-milk-kefir-vs-home
- Surprising Probiotic Count Of Kefir Revealed. (2016, January 24). Retrieved March 31, 2017, from http://www.nourishingplot.com/2015/10/21/surprising-probiotic-count-of-kefir-revealed/


Just a note that turmeric absorption is increased exponentially by adding black pepper and coconut oil 🙂
I knew that black pepper did that but have not heard that coconut oil is a catalyst!
Is the whole milk bought at the grocery store?
Yes, Linda! That’s the kind I use.
I’ve used powdered turmeric in a smoothie before.
It made it taste like dirt!
Do you use fresh?
Does it make it taste different?
Or is there something I’m doing wrong?
I do use powdered turmeric. As long as I use enough frozen bananas, cocoa powder, and/or peanut butter to cover the taste, it tastes great to us! 🙂
I have allergies to most milk, can I use almond milk?
Rita, you can! You just have to tweak the recipe a little. Here’s some good instructions: https://www.culturedfoodlife.com/recipe/almond-kefir/